I’ve been a big fan of the built-in screenshot capabilities of macOS for a while now and never really felt the need to look at any kind of third party utility. I then heard about an application called CleanShot X and after giving it a very brief trial, I was hooked and knew I couldn’t go back to the stock options.
Have you ever had an application that comes with bells and whistles you just didn’t know you needed until you tried them?! That’s CleanShot X and I’ll run through some of my favourite features now.
Scrolling Screenshots
There will be times where you need to capture information that requires an element of scrolling. In my past life, I would take one screenshot - then scroll some of the text before taking a second one. After a bit of stitching together, I’d have something resembling what I was originally after, usually with a fat line separating the two images though. CleanShot X allows you to take one, simple scrolling image.
Click on Scrolling Capture from the menu bar utility

Next, you need to highlight the area that contains the canvas that will be scrolled. This should not include the scroll bars, just the canvas
You’ll be prompted to start the capture. Scroll slowly until you reach the bottom of the desired area.
As if by magic, you have a clean capture of the scrolling window
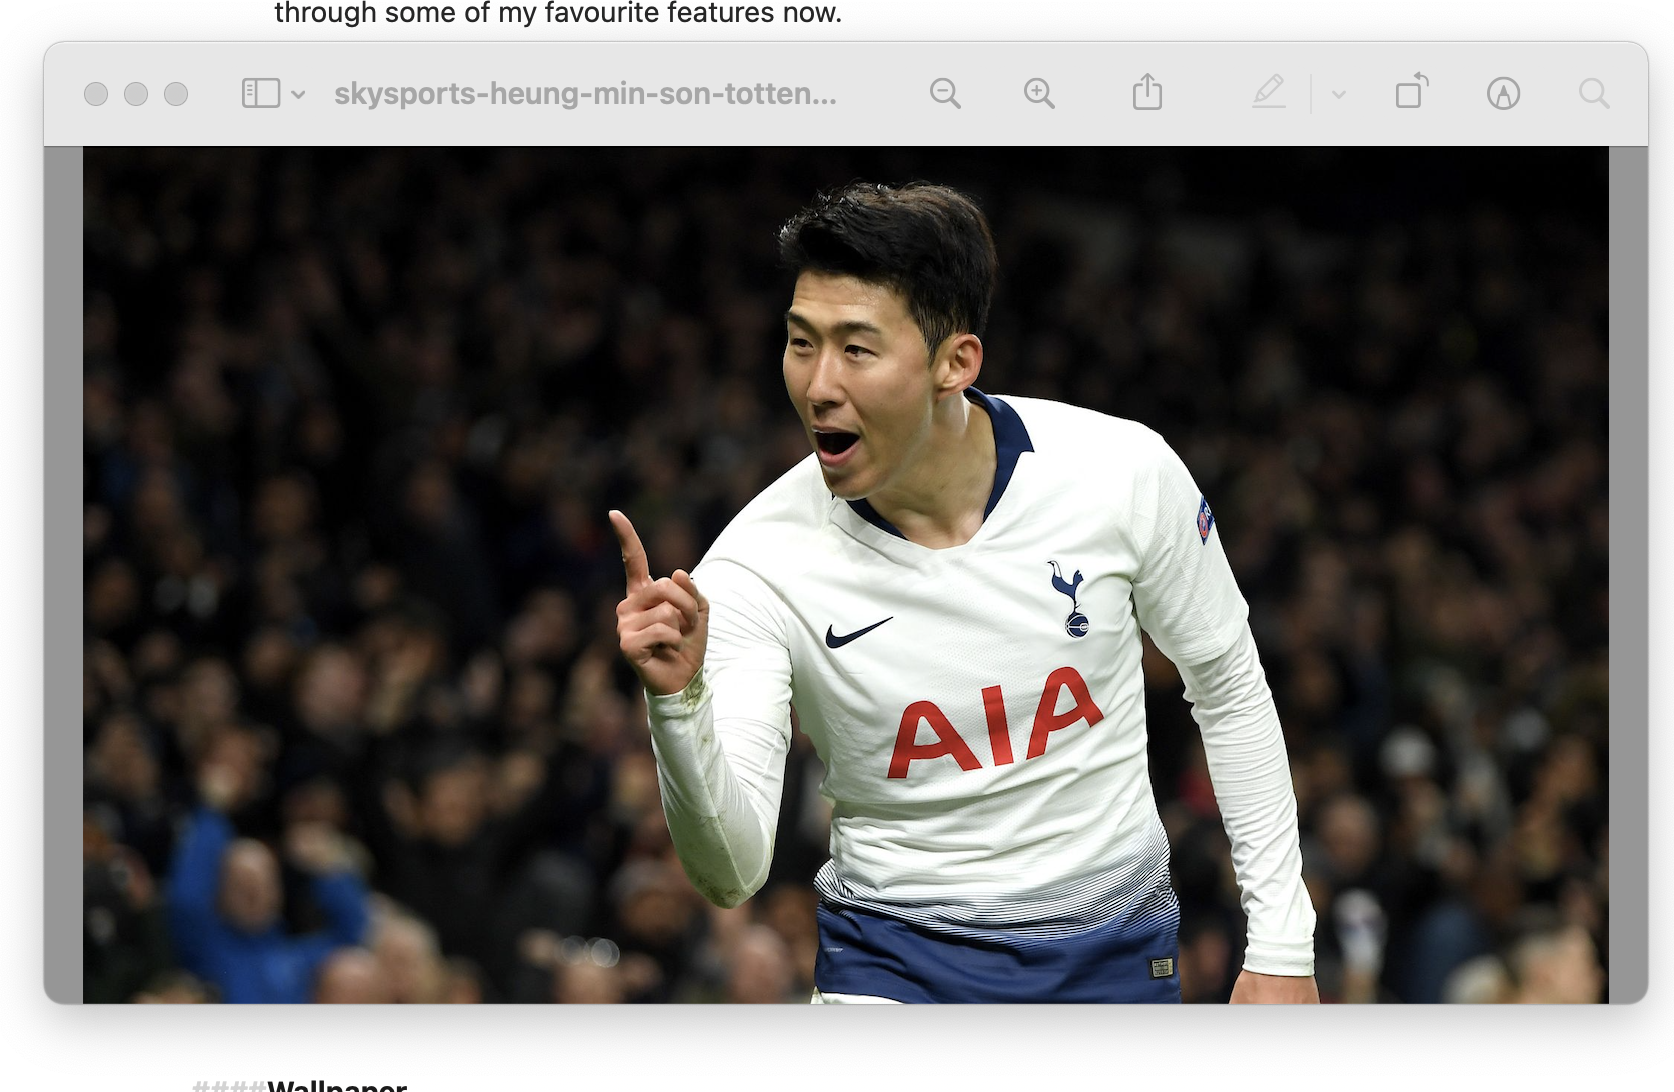
Wallpaper
When you capture a window, you can have your current wallpaper stitched in as a border around the window edge. Not only this, but you can elect to have a custom image, or indeed any plain colour instead.
This makes it really simple to create images that fit in with the documentation, or web page, they will be used within.
There are also options for creating a transparent border around the capture, adjusting the padding as well as the shadow. I didn’t know I needed those options, however, it appears I do.
Without Wallpaper

With Wallpaper
Hiding Desktop Icons
I don’t suffer as much as others with the habit of keeping icons on my desktop, however, I can occasionally be caught out if I have a dmg file that is still mapped when I come to screenshot. Clicking the option below in the General section of the preferences will hide your icons every time you take a screenshot.

You can also use the menu bar icon to quickly hide them irrespective of whether you are taking a screenshot or not. Nifty.
Easy to use Annotation tools
CleanShot X includes a tool that I’ve missed since the days of Evernote Skitch - and that’s numbered annotations.
If you look at the image below, you can see a screenshot that I took that clearly shows the annotation toolbar at the top and the options that are there and, thanks to the counter, I can place little numbers on the image which can be referred to in this text - so for example:
1 - Move
2 - Rectangle
3 - Filled Rectangle
And so we go on. Other great features here include Blur, Spotlight which I’ve demonstrated below. It’s just enough to avoid using a third-party tool to annotate images (unless you have some serious stuff you need to do - in which case more power to you)

Just some of the great tools available within CleanShot X and great news for you Setapp subscribers is that CleanShot X Is also available as part of the Setapp subscription.
Happy screen-shotting!